Sunday, May 9, 2021

Mushroom Tacos 🌮


You know life sometimes gets in the way of hobbies, health and....well everything. I have learned to take time for me. Self care is important but feels at times impossible.  So, one thing at a time.  I picked new up hobbies and now make time to do them.  I realized I had some old ones I used to enjoy and cooking was one of them.  Another thing I realized was that eating healthy is another thing I need to make time for. Again, one thing at a time, small steps. So my first step is to eat more vegetables. Add in some vegetarian options, less meat, lower fat and carbs. Decided to start with lunches.  The problem is I am not a huge salad fan. Today I went with soft tacos. Vegetarian tacos.  They were awesome and fit the lower carb, lower fat, veggie heavy criteria. They passed the husband test and even had a request to make them again.

And they are easy to make  

Ingredients:

6oz button mushrooms 

6oz baby portobello mushrooms 

1/2 c diced green pepper 

1/4 c red onion

1/2 c sliced purple cabbage

1 medium tomato, seeded and diced

1tbs olive oil

1/4 c shredded cheddar 

1 tbs minced garlic 

1/2 tsp season salt

1/2 tsp dried onion 

1/4 tsp cilantro 

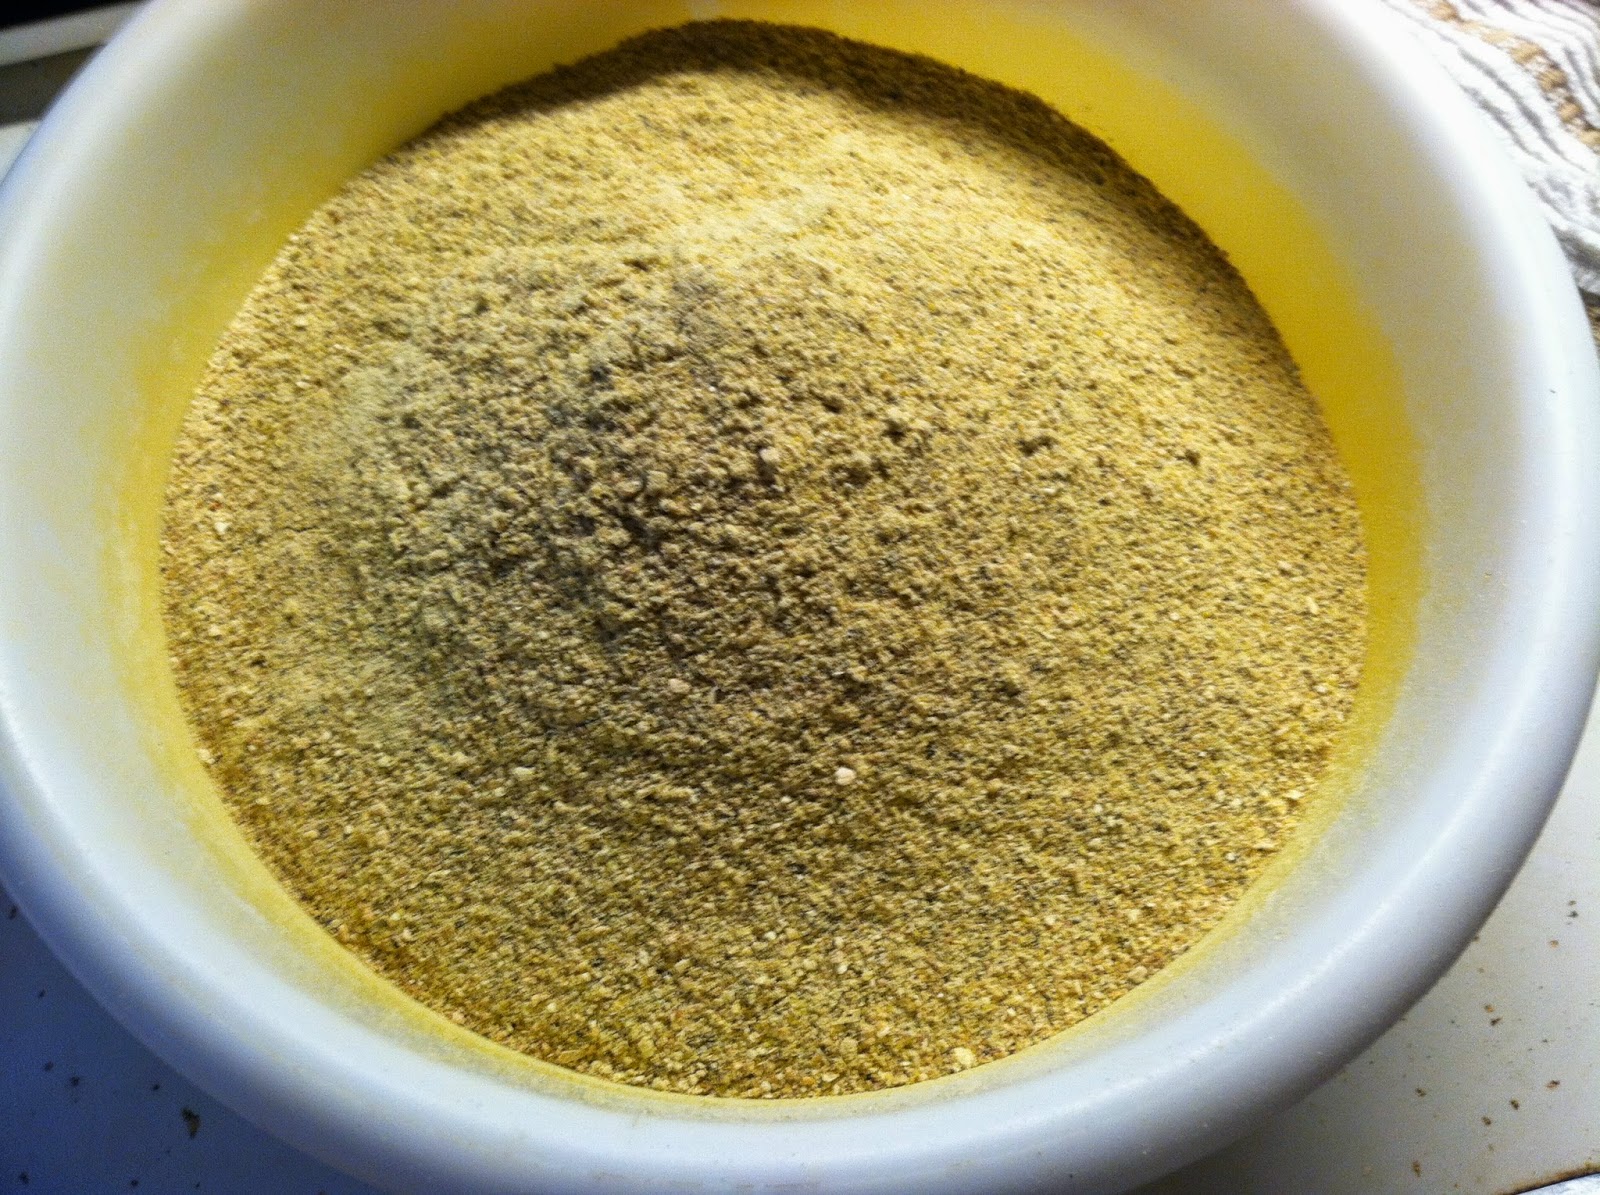
2 tbs Ortega taco seasoning 

2 10” flour tortillas 

2 tbs sour cream 

2 tbs Ortega taco sauce 

2 tbs hot salsa 


Dice the mushrooms, green pepper, red onion, tomato and shred or slice cabbage  

In a pan over medium heat add oil  when hot, add minced garlic and stir fry for 1 minute   Add in mushrooms, green pepper and onion   Cook until the liquid in the vegetables start to cook out and the vegetables look a bit dryer  

Add cilantro, dried onion, and seasoning salt  and stir fry one minute  

Add in taco seasoning and stir   Turn off heat and add in cheese  mix it through  

Split the mixture between the wraps   Top with remaining ingredients   Serve! 


Saturday, September 16, 2017

Chicken & Zucchini in Cream Sauce


Sometimes life gets in the way. Not because things are going wrong, but more because there is just so many new life events going on you don't have time to stop and do the things you really want to do for fun. For me that includes this blog. I just have not had the time to stop and write. The last year and a half have been a whirlwind. I was married, became a stepmother to two wonderful munchkins, traveled over seas, worked, moved and completed some coursework. Life just would not slow down long enough to allow to many hobbies. It still has not slowed down. I think I have just started to become accustomed to the pace. The one thing I have not stopped doing is cooking. It is one hobby of mine no one minds me taking the time to do. However, even that seemed to stall for a while. My inventive kitchen days became routine family meals with little variation built around my kids likes and dislikes...I decided that has to change. Kids will not learn to try new things if I do not give them new foods to try. So I went back to experimenting. One product of that experimentation is a dish so yummy it was gone before I could even ask my husband what he thought of it.


Chicken & Zucchini in Cream Sauce


2-3 cups of sliced zucchini rounds cut about 1/4" thick
1.5 lbs cubed raw chicken breast
1 can of cream of chicken soup
1/2 cup each diced onion and peppers
4oz cream cheese
1 tbs brown mustard
1 tbs horseradish
1 tbs soy sauce
1 tsp garlic
1/2 cup shredded Parmesan cheese
salt and pepper to taste

Preheat oven to 400 degrees. Layer the zucchini, onion and peppers in a baking dish. Place cubed chicken on top. Reserve the Parmesan cheese for now. Then in a bowl combine all other ingredients. Spread the mixture over the chicken as evenly as possible. Bake for 10 minutes uncovered, remove and sprinkle the Parmesan over the top, then return to the oven for another 20 minutes.

remove from oven and let rest at least 10 minutes (it will be bubbly) then serve.

Sunday, September 13, 2015

Tastiest Sauerkraut EVER

 
The Tastiest Sauerkraut EVER!!!

I have heard many people say how much they dislike Sauerkraut. There are many reasons given. It is too sour or too strong of a flavor. The store bought kind is often very acidic or tastes like the can it is packed in.  My boyfriend sited all of the above, every time I brought up making sauerkraut for dinner. Then he had my secret, make you love kraut, recipe. He still won't eat the store bought kind...but then neither will anyone in my family after eating my home made version.  There is a reason I canned over 40 jars this year. I get request from co-workers and friends. I have even had a friend ask me to mail them a jar!

The secret you ask? Garlic and mustard seed.

Not much of a secret, but it makes a world of difference. The garlic and mustard cut the acidic taste and make the Sauerkraut burst with flavor. 

So how do you make it? 

 
3-4 Large (mine were like soccer balls) heads of cabbage
1 box kosher salt (I used the kind that is slightly bigger grain than table salt)
Fermentation crocks or buckets with lids 
8-12 bulbs of garlic
1 large jar mustard seeds
potato masher
knife/ shredder
cutting board

NOTE: Fermentation crocks are designed to let escaping gasses out. Buckets are not. If you are using plastic buckets you will have to lift the lid every few days or else you are not making sauerkraut, you are making a KRAUT BOMB, and you don't want that to go off.  And yes, when you lift the lid, it should smell like that.

Procedure

Shred your cabbage. I use a cabbage shredder my brother bought me for Christmas (makes life so much easier). If you own a garlic slicer, slice the garlic. You will need all of it, more is never a problem. You can grind the garlic into a paste or mince it, but i found that the slices help to distribute the flavor better.  Put the cabbage into the crock a bit at a time and tamp it down really well with the masher. After each 2" layer of cabbage, sprinkle 1/2 tbs salt, about 2 pinches or 1 tbs (i just grab a pinch at a time ) garlic and 1 tbs mustard seed and build layers of mashed cabbage, garlic, mustard seed and salt. It will produce it's own liquid in time. Keep doing this until your crocks are full. Put the weights on top, cover and leave in a cool dry place for 10 weeks.
  
I should warn you, this particular recipe stinks...i mean really, literally it smells horrible while it is fermenting. This is the garlic's fault. Do not let that stop you, it is VERY worth it. 
After the Kraut is fermented it is ready to eat (do not be alarmed if there is a bit of mold on the top layer...scrape that off. I did not have any mold, but I took the top layer off anyway. I found it to be a bit mushier than what was underneath. At this point you can cook it with pork or can it for later use.  Easy, healthy, no added nonsense. Note: once canned the fermentation process stops.

Can your kraut according to standard Ball canning guide recommendations. I canned most of mine in Pint Jars (you will be surprised at how much sauerkraut fits into a pint jar.) It is enough for a meal for four people in my house. 

Crockpot Chicken Stew

Crock-pot Chicken Stew


Crock-pot meals are a staple during the work week. Often I am a fan of throwing what ever I can find into the pot and hoping for the best. Simple, easy, quick preparation makes life simple. Usually the results are mediocre to good, this time the best happened. 


Ingredients
  • 2 lbs bone in, skin on chicken (boneless, skinless dries out in the crock-pot)
  • 16 oz diced tomato, drained
  • 3 onions- one chopped, 2 diced ans set aside
  • 4 large potatoes, peeled and quartered
  • 1/2 tbs dried parsley
  • 1/2 tbs thyme
  • 1/2 tbs rosemary 
  • 1tbs spicy brown mustard
  • 3 tbs soy sauce
  • 1 pkg onion soup mix
  • 2 tbs corn starch
  • 1 cup Marsala wine
  • 1 can chicken broth
  • 2 tbs butter
  • 1 tbs garlic powder
  • 1 tsp black pepper
Procedure

Place quartered potato and one chopped onion on the bottom of the crock pot. Place chicken on top of the potatoes. In a frying pan caramelize the remaining onion with the butter. While the onion is cooking combine all other ingredients in a bowl and mix. Place caramelized onion over the chicken and pour mixture over top. Cook on low for 8 hours.


Sunday, September 28, 2014

Zucchini Candy

Zucchini Candy.....wait what?


I love farm markets. You can get the best deals on great produce. However, just because its a great deal, does not mean you always have a plan for it. I stumbled upon some baseball size zucchini for 1.00 each. I am not sure what I was thinking. I got them home and stared at them for a bit. Then I remembered seeing a recipe for zucchini gummy candies.  I was a bit worried as to how they would turn out because zucchini is not normally something I associate with candy, but they are DELICIOUS and really easy to make.


I had three of these giant Zucchini. So I decided to try 3 different kinds of candy.


All that is needed to do this is roughly 7-8 cups of diced Zucchini and one container of frozen juice concentrate. 
I tried three different kinds Bacardi Strawberry Daquari, Pineapple coconut and Natural Apple Cherry juice. I will say that the natural fruit juice worked much better flavor wise, in the finished product. The other two were Bacardi mixers and though good, did not stand out as much on the taste buds.

 First Dice the Zucchini.....


Then put it in a pot with the juice concentrate and one can of water. Bring it to a boil, then reduce to simmer until zucchini is translucent. add some food coloring if you want a more exotic color (i turned the pineapple coconut one blue)


Then, spread out your cooked zucchini on dehydrator trays and dehydrate over night. Store in containers in the fridge and eat at will. These are great little bites of sweet fruit flavor.


Pot Stickers

Chicken and Leek Pot Stickers
The make ahead meal everyone likes.


Pot stickers are an easy, cheap way to make a lot of food with just a little meat. You can fill them with anything you like. I chose chicken and leeks because it is what I had on hand, but pork, shrimp, vegetables, tofu, beef....anything goes.

Once frozen made you have a large amount of grab and go food that takes less than 15 minutes to cook.

Ingredients:

1 lb boneless, skinless chicken breast
2 large leeks
3 cloves of garlic
1 tbs sesame oil
2 tbs Shoyu
1.5 tbs fresh minced ginger
1 package dimsum or wonton wrappers. 
1 egg
1 tbs water

Process:
Place the chicken, leeks, shoyu, sesame oil, garlic and ginger in a blender and puree. (I grind my own meats, so I rarely have ground chicken on hand. This is also a great way to make sure everything is mixed well.)

Mix the water and egg to make an egg wash. Take a wrapper and dampen the edge with egg wash. Place about 1 tbs of meat mixture into each wrapper. Crimp the wrapper closed making sure there are no air pockets.

This is the long part of the process. I usually watch a movie while filling my pot stickers.

Place each pot sticker on a baking sheet. When the sheet is full place in freezer for 2 hours. Then take them out and put them in a baggie for easier storage. 


BONUS ROUND-

There is always extra meat mixture when making pot stickers. You can freeze this for a later date, roll them into balls and steam them to make "nude" wontons or.....


 Chicken and Leek Meatballs


Pour the leftover egg wash into the leftover meat mixture and add in one cup of leftover rice. 

Form into balls and pan fry. Serve with some wasabi laced shoyu.


Wednesday, July 16, 2014

Collard Greens, the other vegetable


Collard Greens
I had never eaten a Collard Green. I had always just assumed they cooked up like some sort of elongated cousin of spinach. I have never been a cooked spinach fan (outside of a quiche that is, but add enough egg and cheese to anything and it makes it better). Throughout the years I have wandered through the market and pretended that these leafy greens were just shelf decoration, until one day when I felt the bravery well up in me and I decided to try something new. 
The best way to try new foods is fried....let’s face it everything is better fried. Batter dip and fry anything to look like a chicken nugget and it automatically becomes less scary.  However, fried really does not fit with the healthy image. The second best way to get people to eat food is to add bacon. Bacon goes with everything.  I added bacon and cheese and amazingly the result was delicious and not nearly as daunting as I had thought. Like spinach, Collards have that earthy taste to them, but it is oddly pleasant and I found it to be less sharp than Spinach. So be daring, give it a try, add bacon.

Ingredients-
1.     4 strips of thick cut bacon diced (i have also used lardons of salt pork if I am out of bacon)
2.     1/2 cup Feta cheese crumbles
3.     8 oz. Diced canned tomato
4.     1 tsps. garlic powder
5.     1 clove garlic, minced
6.     1 small onion diced
7.     Salt
8.     Pepper
9.     1 large bunch of collard Greens, Washed with ribs removed and cut into 2" ribbons

Directions-
Dice the bacon into small cubes.  In a large frying pan crisp the bacon cubes. At this point you have a choice to make...pour off the bacon fat/grease for a healthier meal (this is what I did) or keep all that piggy goodness and cook the remainder of the meal in it.  Reserve the bacon and over medium heat cook the onion until becomes translucent. Add in the minced garlic and continue to cook while stirring for about 2 minutes. Drain the diced canned tomato and add it to the onions and garlic and continue cooking on medium heat about 3 minutes. Add the greens and cover. It looks like it will not all fit in the pan, but it will, trust me. In about 5 minutes the collard greens will wilt down. At this point stir, sprinkle with some garlic powder, salt and pepper and leave them alone for a few minutes to stew in their own juices.  Taste, adjust and season as needed and after about 5-8 minutes turn off the heat, drain the juice and toss with the bacon and feta. Serve. (Goes GREAT with pork chops)

Saturday, May 3, 2014

Lasagna

A Healthier (slightly) Lasagna


That heavy, fattening but oh so delicious dinner. It has the tri-fecta of pasta, cheesy goodness and meat. In essence perfection on a plate. And like most things delicious, its not really all that good for you. So how to make it better without loosing all that makes it so delicious? a few substitutions, a tweak here and there and you can cut calories and fat, but not corners. This lets you feel better about eating it, and maybe even go back for seconds.

Ingredients:

8oz Low Fat Ricotta
1 pkg spinach flavored no cook lasagna noodles
1tbs granulated garlic
1 tbs Italian seasoning


1lb sausage of choice (I used a homemade venison sausage, it is low fat and my father made it so I know there are no weird ingredients.)
1 tbs chicken bullion- low sodium, msg free
1/2 tbs salt
1/2 tbs pepper
1/2 tbs stevia- sugar substitute
2 cups shredded low fat, skim milk Mozzarella
1 eggplant
1 red onion
1/2 cup Low Fat Shredded Parmesan 
Pasta Sauce (I use home made)

And-
8 oz  drained Plain fat free Yogurt 

This is simple to make ahead, has multiple uses (click the link to find out more) and is so much healthier than even the low fat ricotta.

I make my lasagna with half drained yogurt and half ricotta. It keeps the flavor but cuts the fat and calories.


How to-


In a bowl mix together the ricotta, yogurt and seasonings. Once mixed fold in the shredded Parmesan and set aside. Tip- a potato masher is great for mixing without spilling ingredients all over the place.

Slice the eggplant and the onion thinly and set aside.
Pre heat your oven to 300. This is a dish best cooked low and slow.


In a large baking dish layer the noodles, egg plant, sausage, onion, mozzarella and ricotta mixture.


Pour a small amount of pasta sauce onto each layer.
Repeat until you have 4-5 layers.
Reserve remaining mozzarella cheese. Cover the lasagna, bake for 1.5 hours, remove cover and put the remaining cheese on top. Continue baking uncovered for 20 minutes or until cheese is browned. Remove from heat, let sit for 10 minutes and serve with a bit more sauce if desired.


When Life Gives you Lemon’s…get zesty!


When Life Gives you Lemon’s…get zesty!


I think I have mentioned before that I am cheap. I hate paying full price if I can get an item somewhere cheaper. Yes I am one of those people who will travel to 4 different stores to get what I want and save money.  I always start my veggie shopping at the discount rack. You know the one, the place where old bruised tomatoes go to hang out with slightly dented eggplants. These seldom loved, mostly overlooked fruits are aging but far from useless.  Often they are great finds for cooking immediately, canning or dehydrating and at a fraction of the normal cost.

This week I hit the mother load. Lemons! Lots of Lemons…for $2.00.  Why am I happy about slightly aged sour fruits in bulk?... Because zest is expensive. How often does this scenario happen to you? You find that perfect recipe, you pull out the ingredients only to find your last orange, and lemon or other citrus is long gone to dust? Well my friends this does not ever need to happen to you. All you need is a potato peeler and a jar.

I had 2 dozen slightly soft lemons. It turned into a jar of zest, dehydrated slices and some great Lemon, Garlic and Pepper Seasoning.

How To-

Homemade Lemon Zest

 
With a potato peeler, remove the zest from each lemon. Place it in a single layer in a food dehydrator. Or if you do not have a dehydrator you can do this in the oven. Place in a single layer on a pan or cookie sheet and stick in the oven for a few days. (Don’t forget turn it on or you will have cooked lemon zest)

Don’t throw out the rest of the lemons! Slice them and dehydrate them also. I use mine for ice tea, canning, and potpourri. One of my favorite things is to put a pot of water on the stove while I am cleaning, throw in a cinnamon stick, some dehydrated citrus or a bit of vanilla extract and let it simmer away. It makes the house smell good without all the chemicals of sprays.

This time around I decided to turn all of that lemony goodness into Lemon Garlic Pepper Seasoning.

Homemade Lemon Garlic Pepper Seasoning:

 
How to-
Ingredients:

8-12 dehydrated lemons
3 tbs granulated garlic
3 tbs black pepper
¼ cup raw sugar
1 tbs salt

Dig out your handy magic bullet, grinder or food processor and add in the dehydrated lemon slices.  You want it to be ground down finely.
Then grind the raw sugar. The granules I have around the house are a bit too big for a spice mix.  Add the lemon powder and all other ingredients and mix together. Taste a bit of it! Some times it needs a bit more sugar to counter act the bitter. Remember the pith of the lemon I ground in there too and it can be pretty bitter a bit of sugar goes a long way. Not to mention some people prefer more garlic, some more pepper…make sure it is to your taste. Put it into whatever jar or container you have handy. It’s great on fish, chicken, asparagus or anything you can think of.

Tuesday, April 29, 2014

Bean Sprout Chicken

Sprouting Dinner


Bored, broke, and dead tired. This has been me for the past few days. No money, no ambition.and few ingredients. Whats a girl to do.

Picture it, my refrigerator, a barren waste land, strewn with half empty bottles of random condiments. A vast emptiness in an enclosed space containing one lonely bulb of garlic, a bag of bean sprouts just a hair short of reaching their shelf life, leftover dried out rice and some boneless chicken breast. The only sign of life is the scallions growing on the counter top. What on earth can you do with that?

You can make deliciousness that's what. This is a true fusion style dish. I tend to have all sorts of spices in my cabinet. Japanese 7 spice powder and kefir lime powder among them. If you are like me and enjoy the more exotic spices but live no where near a spice shop or Asian market, give Season with Spice a try. I buy all my more exotic spices here. They have a great selection, the spices are fresh, ground well and reasonably priced.

Bean Sprout Chicken

1 lb chicken sliced into thin small strips
2 cups bean sprouts
½ cup scallions, just the greens
1 tbs sesame seeds
1 tbs crushed garlic
1 tsp Japanese 7 spice powder
½ tsp kefir lime power (optional)
1 tbs Shoyu
1 tbs Mirin
½ tbs lemon grass (I have the sliced kind in a jar. You can get it in the international foods isle of the grocery store.)
1 tsp corn starch
2 tbs olive oil

Heat wok or sauté pan over medium heat, add oil.  Let the oil heat, and then add the chicken and 7 spice powder.  Once the chicken is ½ cooked add in garlic and lemon grass and ½ Shoyu. Cook the chicken through and add in the bean sprouts. Cook and stir for 3 minutes. Add in remaining scallion tops, Shoyu, Mirin and kefir powder. Cook, stirring constantly for another 2 minutes. Add corn starch to liquid on bottom of the pan to thicken the sauce. Remove from heat, toss with sesame seeds and serve with rice.

Monday, April 28, 2014

Broiled Mushrooms

Fun-gus


I have never been a fan of mushrooms, as previously stated, but I have been slowly rectifying that issue. Lately I found a simple way to make mushrooms that I absolutely adore. For once its not in pickle form.

If you are low on time, energy, ambition or vegetables...this is the dish for you.


Marinated Mushrooms


Ingredients:

1 bottle Italian dressing (the cheapest you can find)
1 large package  Portobello or button mushrooms sliced thickly

Items needed:

Container
Tin foil
Pan spray
Cookie sheet

How to:

Wash the mushrooms and slice them. Put in a container and dump Italian dressing on them. Cover and refrigerate 30 minutes to over night. I often make these the night before or even two days before I am going to cook them. They do get a bit acidic in flavor the longer you leave them marinating so keep that in mind.

Place oven on 500 degree broil.

Put tin foil over your cookie sheet and spray it with pan spray. Place, do not dump, the mushrooms on the pan. SAVE THE REMAINING DRESSING. I usually chop up a new batch of mushrooms for a day or two later and use the same dressing. Its still good, it just had a mushroom taking a bath for a bit.


Place on the pan farthest from the broiler heat for about 10-15 minutes. Then flip each mushroom over and place closer to heat for another 5 minutes or until edges start to darken. May take a few more minutes depending on your oven.


I love these as an easy side dish or as an addition to a lettuce wrap, burger, salad....they can do no wrong. Since first making these I have eaten them at least twice a week.


Sunday, April 27, 2014

Wrap Pizza

Fast Food

 How many of you have had this day. You get up late, forget to take out something for dinner, run through the day at full speed breaking yourself on a wall of exhaustion. You get home only to realize that there is NOTHING to eat, no left overs, no snacks, not even a can of tuna. All you have is frozen and takes to much of your already depleted energy to make. Whats the solution? Pizza Delivery.... Yes, you are saved. You go to your wallet and realize it is growing dust bunnies. /sigh, too poor for take out. This is my life story.

When the above paragraph describes my life, I make what I call fast "thin" crust pizza. Most people have the ingredients on a shelf. Pizza sauce, tortilla wrap, cheese and random veggies.

My freezer always has shredded cheese of some sort. I normally have random fresh or frozen veggies and I always keep wraps on a shelf...the things last forever.

What and How-
Heat the oven to 350
Spread about 3-4 tbs of pasta sauce on your wrap
Sprinkle with cheese
garlic powder if you have it or what ever other spices and topping you have laying around
and random veggies.

Bake for about 10 min until cheese bubbles.
Then place under broiler for about 2 minutes. (WATCH CLOSELY or you will burn.)
just to brown the cheese a bit.

Slice and eat. Its a customizable, fast, cheap and easy dinner.